Subcategories

  • No description available

    52 Topics
    188 Posts
    A
    I made the connection according to the instructions https://kb.unipi.technology/en:hw:03-unipi11:description-of-io:01-description-of-di#di13-14 and changed the EVOK config(uncomment 13/14 and substitute correct pin number). file, but inputs 13/14 still do not appear in the web interface (RPI restarted, browser cache cleared).
  • Unipi 1.1 Analog Inputs

    1
    1
    0 Votes
    1 Posts
    599 Views
    No one has replied
  • This topic is deleted!

    3
    0 Votes
    3 Posts
    44 Views
  • UniPi 1.1 Raspberry Pi 5 support

    2
    0 Votes
    2 Posts
    2k Views
    C
    @Martin-Randl Hello, there are no plans for official support and bundle at the moment. However, we do not intentionally block this and you can try to make it working on your own.
  • node-red startet nicht mehr

    2
    0 Votes
    2 Posts
    2k Views
    C
    @udokra said in node-red startet nicht mehr: . Disable 1-Wire support in Evok (comment the OWBUS section in /etc/evok.conf), enable the module loading( add/un What are you trying to accomplish with devicetrees? This is the oposite what you should do in order to have it working with Evok.
  • Missing dimension on unipi 1.1 drawing

    1
    0 Votes
    1 Posts
    1k Views
    No one has replied
  • evok DHT22, AM2302 sensors

    2
    0 Votes
    2 Posts
    1k Views
    Z
    @Martin-Randl Hello Martin, have you been following this guide in order to connect sensor to 1-wire input? ZR
  • This topic is deleted!

    1
    0 Votes
    1 Posts
    20 Views
    No one has replied
  • Temperratur in Grafik ausgeben

    2
    0 Votes
    2 Posts
    1k Views
    A
    Hi @udokra, If you already save the variables in the history (this guide), you can display them in the graph in two ways: using the integrated graph - press and hold the CTRL key and click the desired value in the HMI (e.g. on the Value Indicator gadget) with the mouse left button, then the graph tab will appear (similar to Mervis SCADA) Insert the graph as a gadget, instructions are available here: Mervis HMI - Chart Best regards, Antonin, Unipi
  • 8-Relay Addon EMO-R8 on unipi 1.1.light

    2
    0 Votes
    2 Posts
    1k Views
    A
    Hi @juntiedt, Yes, it is possible. On the Unipi 1.1 Lite there is a GPIO connector where the necessary GPIOs are available. A description of the GPIO connector is available in the Unipi 1.1 Lite documentation. The description of the RJ11 connector on the EMO-R8 is directly on the board. Best regards, Antonin, Unipi
  • Raspberry GPIO free with UNIPI 1.1

    2
    0 Votes
    2 Posts
    1k Views
    A
    Hello Fabio, You can select the EMO-R8 module to expand the Unipi 1.1 board with another 8 relays. This module communicates via I2C, as does the relay on the Unipi 1.1 board. Documentation for this module can be found on our KnowledgeBase. For communication, you can choose either direct control via I2C, or use our EVOK API, which allows you to control, for example, via the REST API or WebSocket. EMO-R8 connection and EVOK configuration: You must first set the address jumpers on the EMO-R8 and connect to Unipi 1.1 using an I2C cable. Then connect the power supplies, connect to the Unipi unit via SSH and edit the /etc/evoc.conf file. Then restart EVOK and the outputs on the EMO-R8 will be available. In the /etc/evok.conf file, find the lines related to EMO-R8 and uncomment them (remove the semicolons at the beginning of the lines). Open file with administrator privileges (sudo). sudo mc -e /etc/evok.conf Then restart EVOK. sudo systemctl restart evok.service Best regards, Antonin
  • Using PWM Output from Raspberry

    Locked
    5
    0 Votes
    5 Posts
    2k Views
    J
    @juergschwarz Ok it works. had to change the position in raspberry.cpp to the end of void initializehardware() and the Initial values higher (4000 and 6000) Thanks
  • Power Supply Unipi 1.1 and RPi

    2
    0 Votes
    2 Posts
    1k Views
    Martin KudláčekM
    Hello @M1che1, the Unipi 1.1 has been designed for needs of Raspberry Pi 2. Since then, the RPIs got more power hungry and the internal connections might not be suitable for powering both the RPI and the Unipi 1.1. That depends on what RPI you are using and what you are running on the RPI. It is definitely safer to use separate power supplies. Best regards, Martin
  • Set 3.3V as I2C voltage level

    2
    0 Votes
    2 Posts
    1k Views
    A
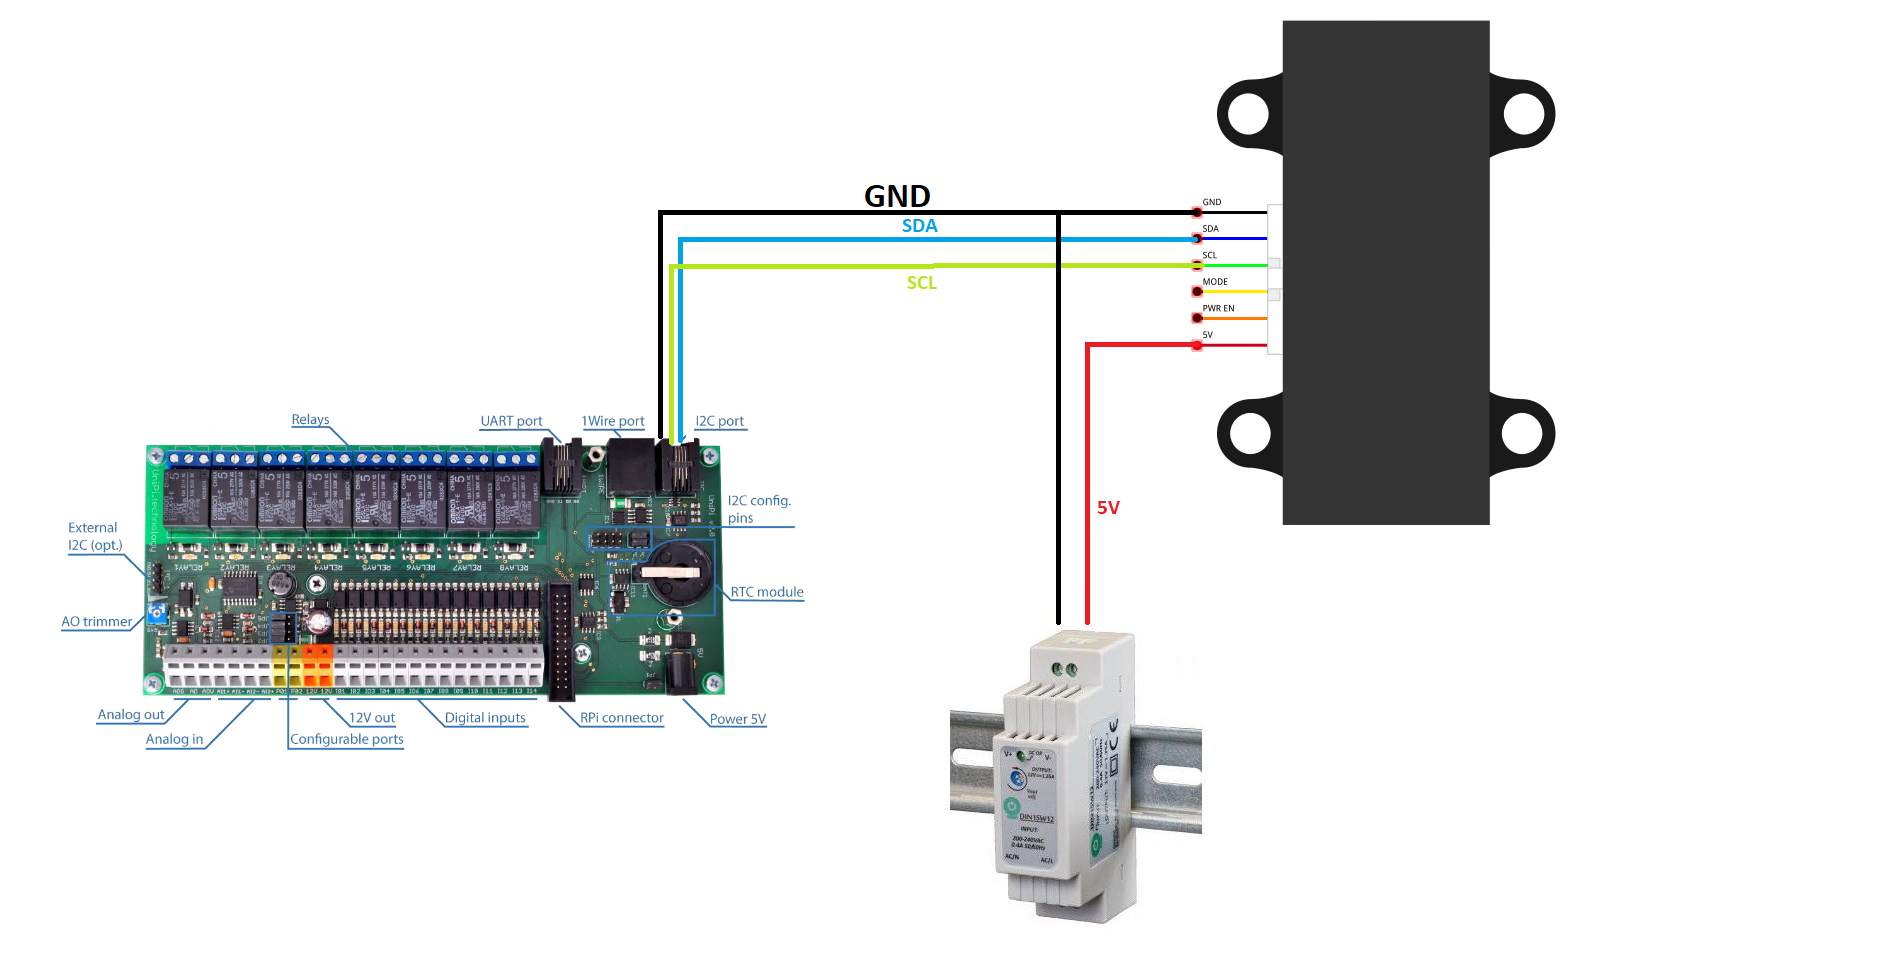
    Hello, The I2C port is permanently connected to 5V and cannot be changed. For the UART port, it is possible to change between 5V and 3.3V using a jumper (JP6). Best regards, Antonin
  • UniPi1.1 and I2C voltage levels

    2
    0 Votes
    2 Posts
    2k Views
    M
    @Giancarlo-Bazzi did you manage to set 3.3V as I2C voltage level?
  • AI conversion

    2
    0 Votes
    2 Posts
    1k Views
    A
    Hi, The best way to calibrate the AI on the Unipi 1.1 is to turn off the transformation for the AI, connect a voltage source with an output of exactly 10 VDC and look at the value on the AI in the Mervis IDE. Remember this value and then insert it as parameter X2 in the two-point linear transformation. Set parameter Y2 to 10 if you want to get the voltage value directly, or set to 100 if you want to get the percentage value [%]. Set both parameters X1 and Y1 to 0. In the attached picture you can be inspired by the settings for my Unipi 1.1. [image: Unipi11_AI_set.png] Have a nice day Regards Antonín Všetula, Technican
  • Burned IC

    2
    1
    0 Votes
    2 Posts
    1k Views
    Martin KudláčekM
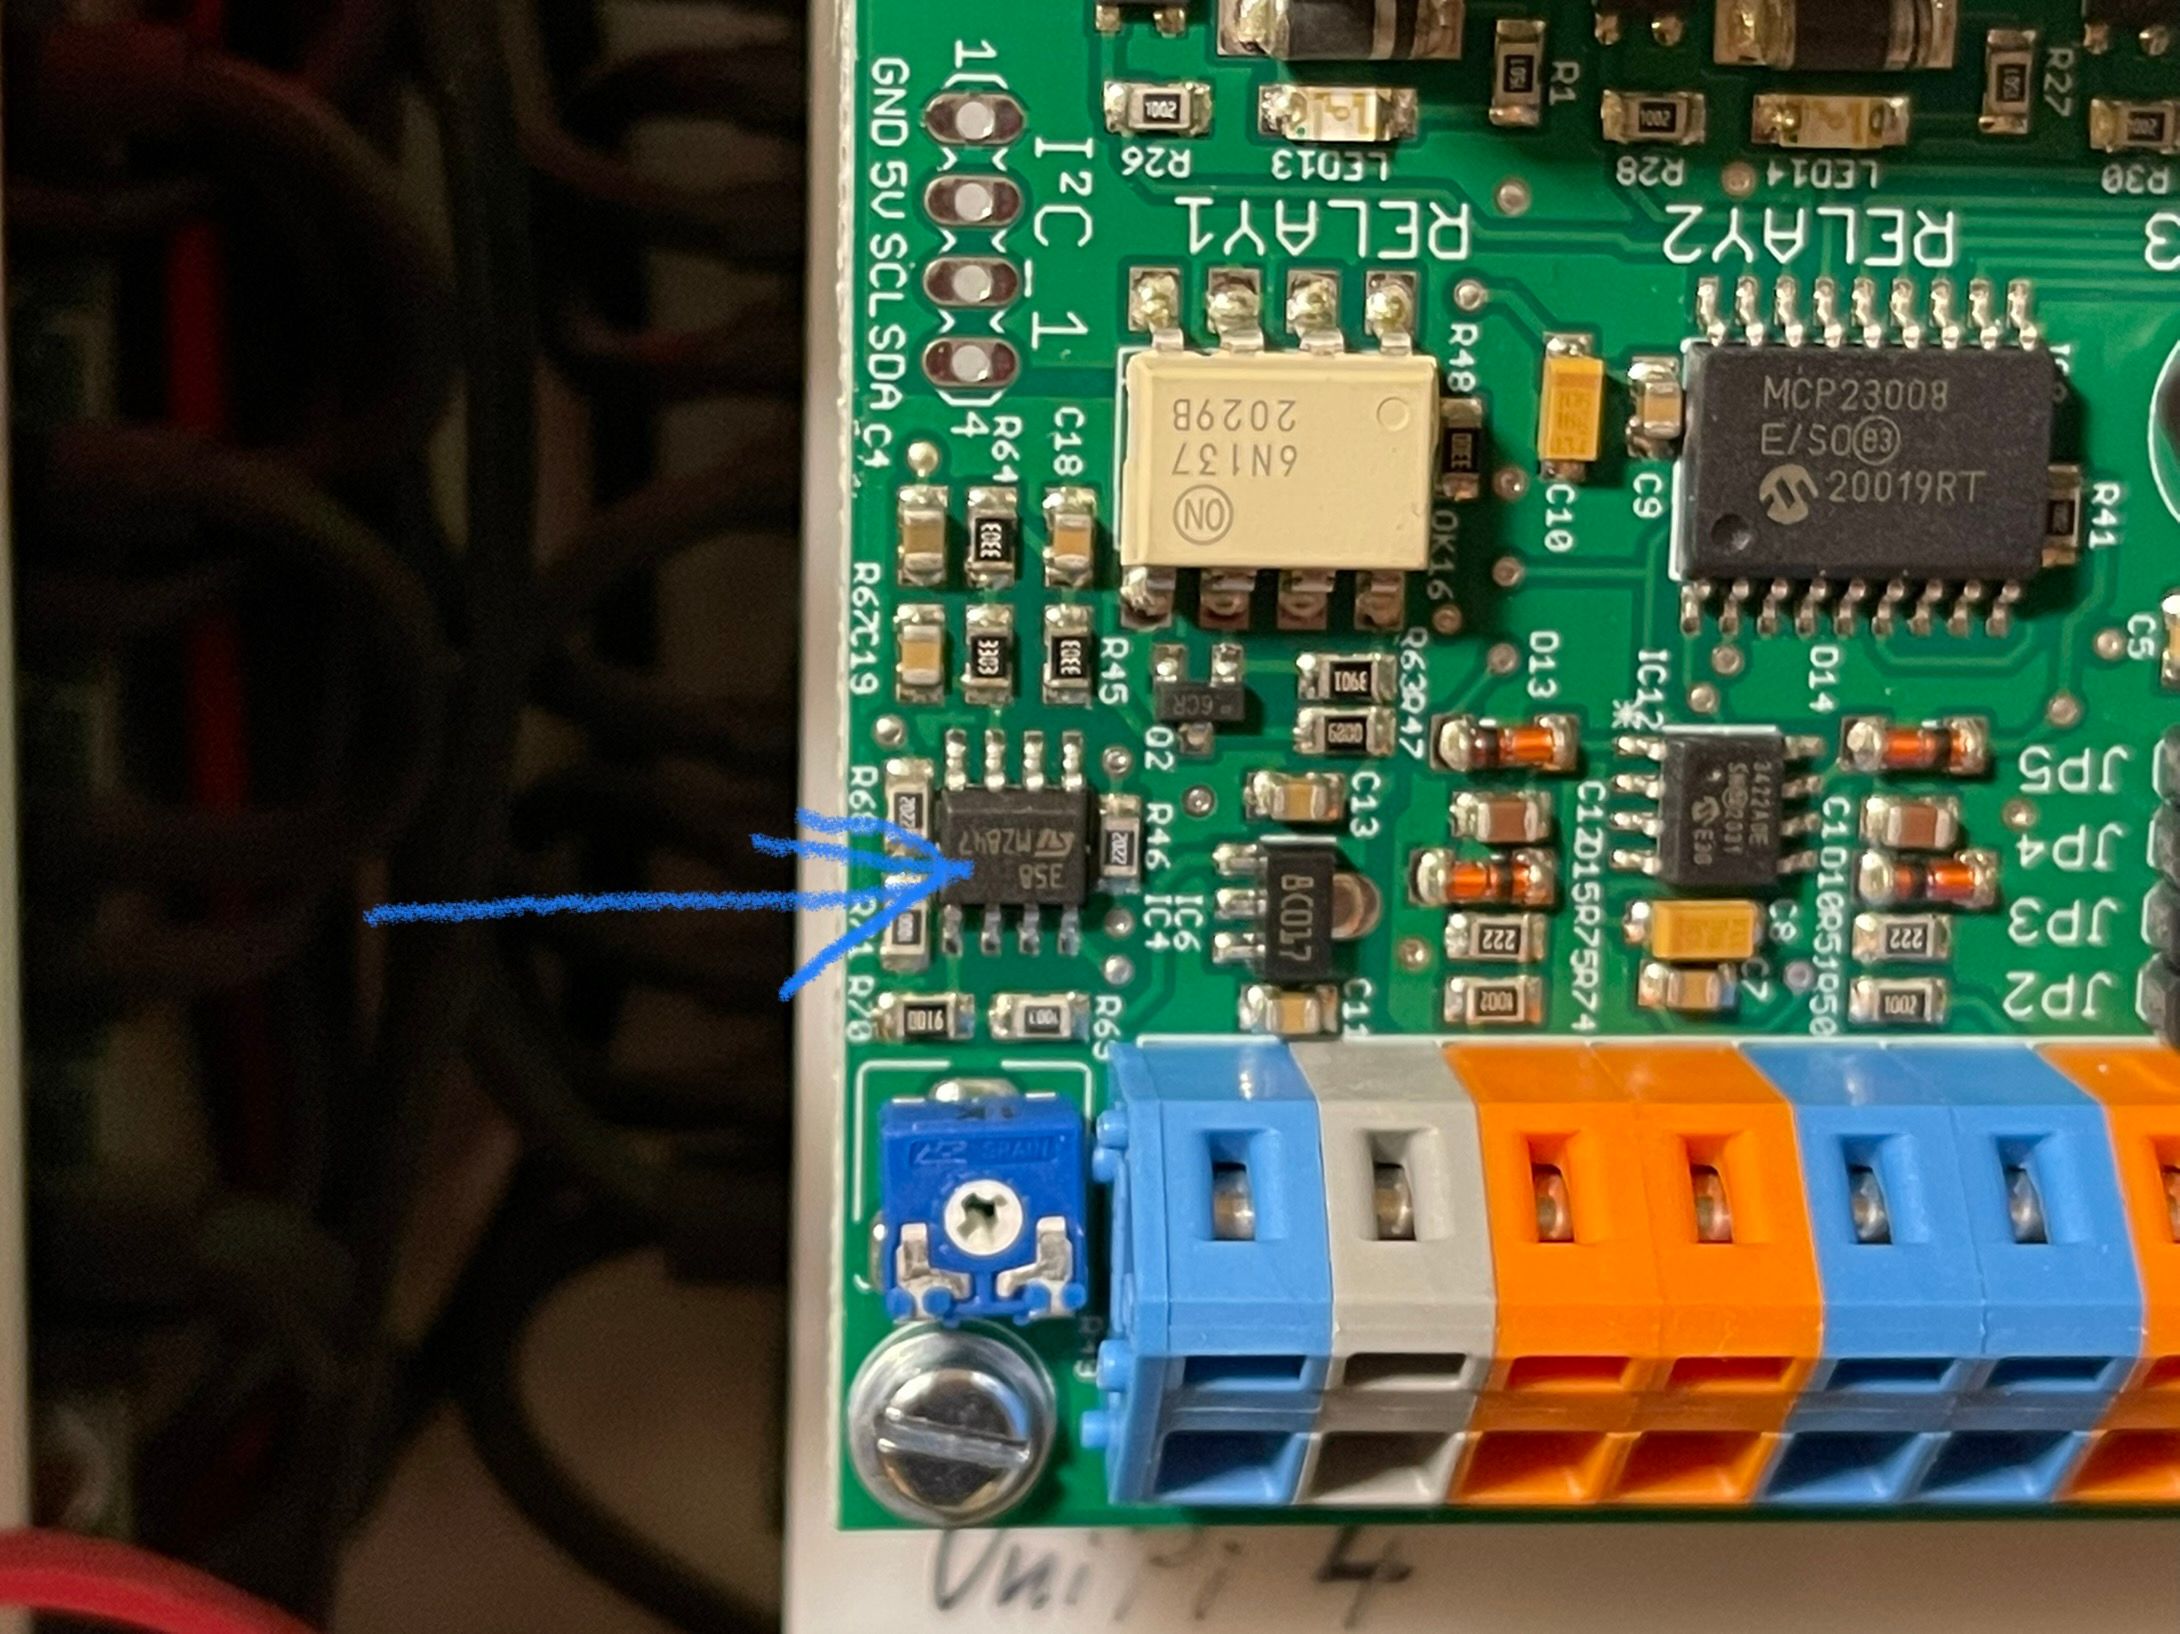
    Hello @CKB, it is LM358 for amplification of the analog output.
  • Recommended way of connecting I2C device

    3
    2
    0 Votes
    3 Posts
    2k Views
    M
    ok, thx for feedback
  • I2C working, but disabled on Raspbian

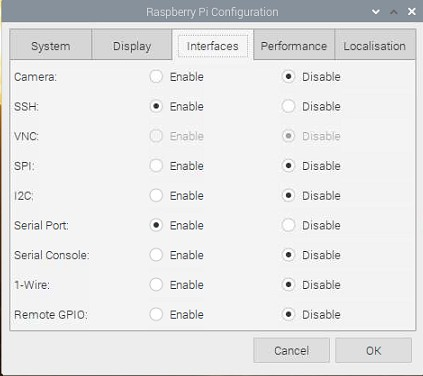
    3
    1
    0 Votes
    3 Posts
    1k Views
    M
    @Martin-Kudláček Do you maybe know how i can check current speed of I2C, which is set over device tree overlays?
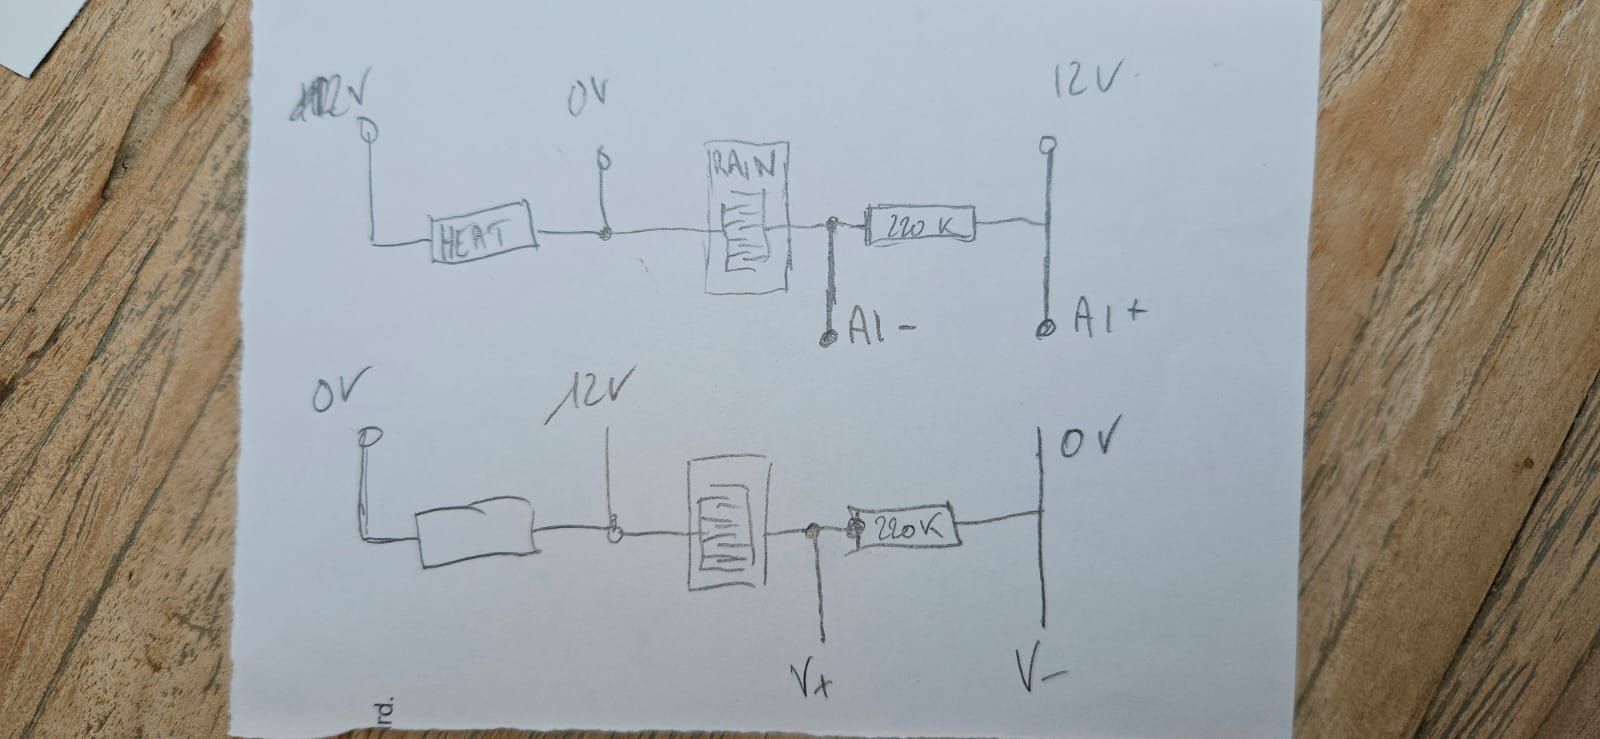
  • Analog output Hardware problem

    2
    0 Votes
    2 Posts
    1k Views
    Martin KudláčekM
    Hello @FabioIT, can you please share the wiring diagram and the jumper settings? Thanks, Martin
  • Websocket disconnected

    2
    2
    0 Votes
    2 Posts
    1k Views
    Martin KudláčekM
    Hello @wolge, from the screenshot it looks like you are using two different URLs. The first one is /ws/127.0.0.1:8080 which is incorrect.